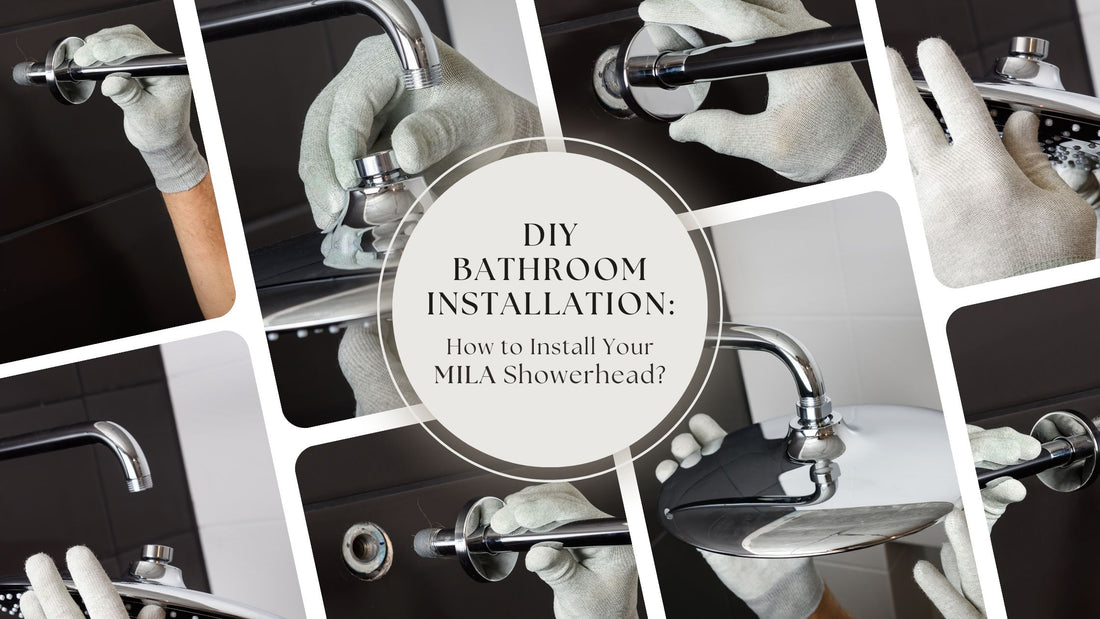
Are you bored of your old showerhead or planning to renovate your bathing space and accessories? You have landed on the right platform, Mila’s meticulous range of showerheads offers you a spa-like retreat every time you take a shower. Do you know what’s the best part? Mila’s amazing showerheads are very feasible to install. Just by following simple steps, you can easily install these effortlessly at your home.
Relax! No cost for Installation! Yes, you heard it right. Just do it yourself, a DIY to recreate your bathroom with precisely designed showers that even enhance the aesthetics of the bathroom. By using fewer tools and following a straightforward guide you can easily install your desired Mila’s masterpiece and enjoy a refreshing showering experience from dusk to dawn.
Reason to Choose Mila Showerhead
MILA showers are known for their meticulous design and superior functionality. They offer customized spray settings with multiple features, ensuring a luxurious showering experience. The reason you must opt for Mila’s modish showerheads is that these have been precisely designed for an easy installation process just like a DIY project.
Gear up to do it yourself! Collect the tools and stuff you will require to transform your bathroom aesthetics. Experience a luxurious and refreshing bathing regime in every drop of shower.
- MILA showerhead kit: This kit contains the new showerhead and any additional parts needed for installation.
- Adjustable wrench: An adjustable wrench is used to loosen and tighten the showerhead and connections.
- Teflon tape: Teflon tape ensures a watertight seal on the shower arm threads to prevent leaks.
- Soft cloth: A soft cloth protects surfaces from scratches and helps clean the shower arm threads.
- Step ladder (if necessary): A step ladder provides extra height to reach and work comfortably on the showerhead installation.
Follow the steps below for the amazing DIY:
Let's begin! Step by step to understand the process and use of the material to gently install the showerhead and avoid any sort of damage to the product.
Step 1: Time to say goodbye to old showerhead
Initiate with getting rid of your old showerhead. Remember to turn off the water supply to avoid casualties or damage. Use a cloth or rag to cover the drainage to prevent the loss of any article during the process of installation. Use the wrench to loosen and detach the old one. If it is stuck, give it a twist and tug.
Step 2: Preparation of the new showerhead
Remove the old Teflon tape and look for any dirt near the mouth of the shower arm. Clean it with a cloth. Make sure the mouth of the shower arm is dry. Now, tie it around with a new Teflon tape clockwise to avoid any sort of leakage, and tighten the shower arm with the new showerhead. It is suggested to wrap the tape twice or thrice around the threads for a better seal.
Step 3: Installing the Mila Showerhead
It's time to inaugurate the new showerhead. Take it and start to screw it in a clockwise direction attaching to the shower arm simply with your hands. For better alignment and fitting, use the adjustable wrench. Be careful, as over-tightening it can damage the shower arm and showerhead. To secure it in place, give it an extra quarter turn with the adjustable wrench. Recall that this is not a strength competition- over-tightening may be harmful, not too tight, not too loose, just perfect!
Step 4: Detect the Leakage
It's time for a test run after your Mila showerhead has been firmly mounted. Turn on the water supply and check for any leakage around the base of the showerhead and in between the connector. In case of any leaks slightly tighten the showerhead by using an adjustable wrench until the leak stops. Now, again turn on the water for a retest, it needs to be sealed till the water leaks.
Step 5: Congrats! You did it yourself
Your Mila masterpiece has been set up, get ready to start your day with a refreshing spirit and feel energized from dusk to dawn. A MILA masterpiece installed in your bathroom not only improves your day-to-day regime but also gives your bathing area a refined touch. Moreover, consider all the money you saved by choosing to change your bathroom aesthetic yourself!
Troubleshooting Tricks
Even the most experienced ones may encounter a few obstacles from time to time during the process. The following troubleshooting advice is useful to have in hand:
- Persistent leaks: You might need to use extra Teflon tape if, despite many tightening attempts, your showerhead continues to leak. Take off the shower head, and reconnect it with more tape.
- Low water pressure: Determine whether low pressure is being caused by the water-saving restrictor located inside the showerhead.
- Stiff shower arm: If the shower arm itself is loose or wobbly, you might need to tighten it from within the wall. This could involve more extensive bathroom installation work but it's usually an easy fix with the right tools.
Lastly, finish the complete bathroom installation by replacing your old showerhead with a MILA masterpiece that is a feasible DIY project. It can be completed within a short period using basic tools. Installing a Mia showerhead is a simple do-it-yourself project that tends to improve your bathing experience. Just in a few moments, you can replace the bathroom shower with a few tools and some elbow grease. Always remember that accuracy and patience are essential. Soon, you'll be relishing the luxurious sensation of your brand-new Mila showerhead—just take your time and follow the given instructions.
Get the Mila showerhead now enter the realm of DIY projects and turn the ambiance of your bathing space.
Have fun installing!
